Add wandb to Any Library
This guide provides best practices on how to integrate W&B into your Python library to get powerful Experiment Tracking, GPU and System Monitoring, Model Checkpointing and more for you own library.
If you are still learning how to use W&B, we recommend exploring the other W&B Guides in these docs, such as Experiment Tracking, before reading further.
Below we cover best tips and best practices when the codebase you are working on is more complicated than a single Python training script or Jupyter notebook. The topics covered are:
- Setup requirements
- User Login
- Starting a wandb Run
- Defining a Run Config
- Logging to W&B
- Distributed Training
- Model Checkpointing and More
- Hyper-parameter tuning
- Advanced Integrations
Setup requirements
Before you get started, decide whether or not to require W&B in your library’s dependencies:
Require W&B On Installation
Add the W&B Python library (wandb) to your dependencies file, for example, in your requirements.txt file
torch==1.8.0
...
wandb==0.13.*
Make W&B optional On Installation
There are two ways to make the W&B SDK (wandb) optional:
A. Raise an error when a user tries to use wandb functionality without installing it manually and show an appropriate error message:
try:
    import wandb
except ImportError:
    raise ImportError(
        “You are trying to use wandb which is not currently installed”
        “Please install it using pip install wandb”
    )
B. Add wandb as an optional dependency to your pyproject.toml file, if you are building a Python package.
[project]
name = "my_awesome_lib"
version = "0.1.0"
dependencies = [
    "torch",
    "sklearn"
]

[project.optional-dependencies]
dev = [
    "wandb"
]
User Login
There are a few ways for your users to log in to W&B:
- Bash
- Notebook
- Environment Variable
wandb login $MY_WANDB_KEY
import wandb
wandb.login
Set a W&B environment variable for the API key
export WANDB_API_KEY=$YOUR_API_KEY
or
os.environ['WANDB_API_KEY'] = "abc123..."
If a user is using wandb for the first time without following any of the steps mentioned above, they will automatically be prompted to login when your script calls wandb.init
Starting A wandb Run
A W&B Run is a unit of computation logged by W&B. Typically you associate a single W&B Run per training experiment.
Initialize W&B and start a Run within your code with:
wandb.init()
Optionally you can provide a name for their project, or let the user set it themselves with parameter such as wandb_project in your code along with the username or team name, such as wandb_entity , for the entity parameter:
wandb.init(project=wandb_project, entity=wandb_entity)
Where To Place wandb.init?
Your library should create W&B Run as early as possible because any output in your console, including error messages, are logged as part of the W&B Run. This makes debugging easier.
Run The Library With wandb As Optional
If you want to make wandb optional when your users use your library, you can either:
- Define a
wandbflag such as:
- Python
- Bash
trainer = my_trainer(..., use_wandb=True)
python train.py ... --use-wandb
- Or, set
wandbto be disabled inwandb.init
- Python
- Bash
wandb.init(mode=“disabled”)
export WANDB_MODE=disabled
or
wandb disabled
- Or, set
wandbto be offline - note this will still runwandb, it just won't try and communicate back to W&B over the internet
- Environment Variable
- Bash
export WANDB_MODE=offline
or
os.environ['WANDB_MODE'] = 'offline'
wandb offline
Defining A wandb Run Config
With a wandb run config you can provide metadata about your model, dataset, and so on when you create a W&B Run. You can use this information to compare different experiments and quickly understand what are the main differences.

Typical config parameters you can log include:
- Model name, version, architecture parameters etc
- Dataset name, version, number of train/val examples etc
- Training parameters such as learning rate, batch size, optimizer etc
The following code snippet shows how to log a config:
config = {“batch_size”:32, …}
wandb.init(…, config=config)
Updating The wandb config
Use wandb.config.update to update the config. Updating your configuration dictionary is useful when parameters are obtained after the dictionary was defined, for example you might want to add a model’s parameters after the model is instantiated.
wandb.config.update({“model_parameters” = 3500})
For more information on how to define a config file, see Configure Experiments with wandb.config
Logging To W&B
Log Metrics
Create a dictionary where the key value is the name of the metric. Pass this dictionary object to wandb.log:
for epoch in range(NUM_EPOCHS):
    for input, ground_truth in data:
        prediction = model(input)
        loss = loss_fn(prediction, ground_truth)
        metrics = { “loss”: loss }
        wandb.log(metrics)
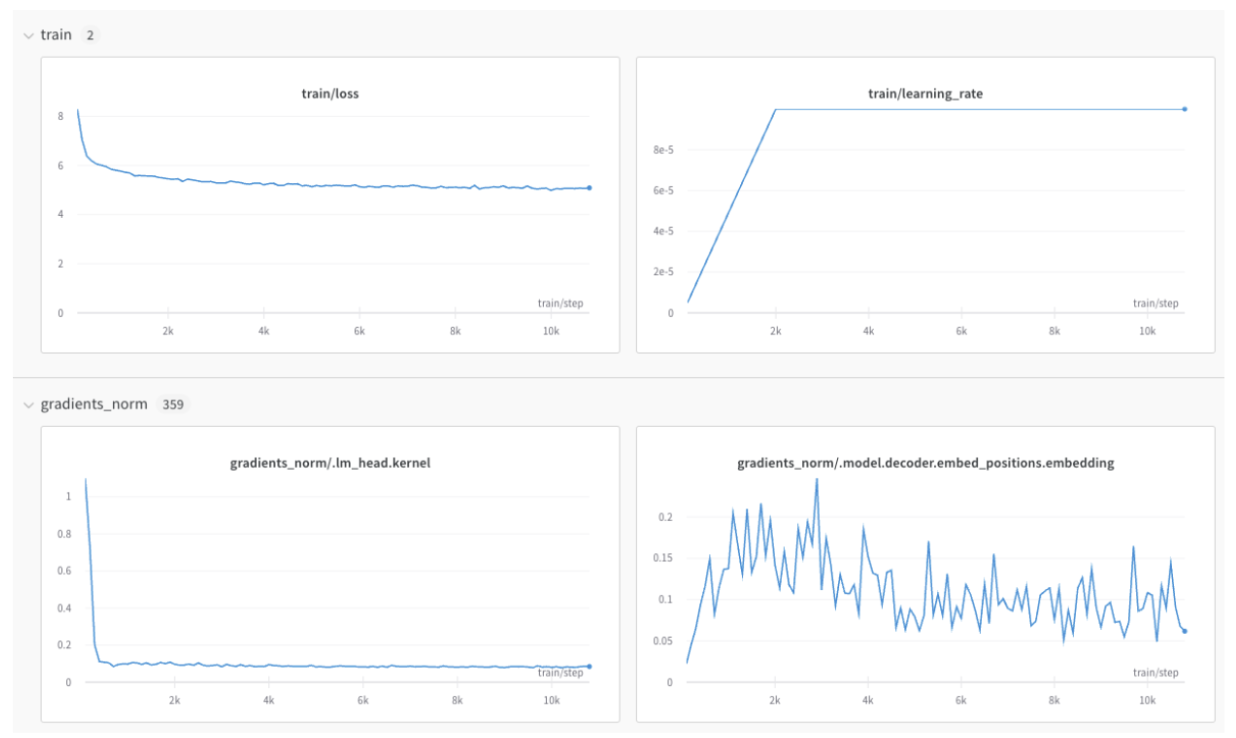
If you have a lot of metrics, you can have them automatically grouped in the UI by using prefixes in the metric name, such as train/... and val/... This will create separate sections in your W&B Workspace for your training and validation metrics, or other metric types you'd like to separate.
metrics = {
    “train/loss”: 0.4,
    “train/learning_rate”: 0.4,
    “val/loss”: 0.5,
    “val/accuracy”: 0.7
}
wandb.log(metrics)

For more on wandb.log, see Log Data with wandb.log
Preventing x-axis Misalignments
Sometimes you might need to perform multiple calls to wandb.log for the same training step. The wandb SDK has its own internal step counter that is incremented every time a wandb.log call is made. This means that there is a possibility that the wandb log counter is not aligned with the training step in your training loop.
In first pass of the example below, the internal wandb step for train/loss will be 0, while the internal wandb step for eval/loss will be 1. On the next pass, the train/loss will be 2, while the eval/loss wandb step will be 3, etc
for input, ground_truth in data:
    ...
    wandb.log(“train/loss”: 0.1)
    wandb.log(“eval/loss”: 0.2)
To avoid this, we recommend that you specifically define your x-axis step. You can define the x-axis with wandb.define_metric and you only need to do this once, after wandb.init is called:
wandb.init(...)
wandb.define_metric("*", step_metric="global_step")
The glob pattern, "*", means that every metric will use “global_step” as the x-axis in your charts. If you only want certain metrics to be logged against "global_step", you can specify them instead:
wandb.define_metric("train/loss", step_metric="global_step")
Now that you've called wandb.define_metric , you just need to log your metrics as well as your step_metric, "global_step", every time you call wandb.log:
for step, (input, ground_truth) in enumerate(data):
    ...
    wandb.log({“global_step”: step, “train/loss”: 0.1})
    wandb.log({“global_step”: step, “eval/loss”: 0.2})
If you do not have access to the independent step variable, for example “global_step” is not available during your validation loop, the previously logged value for "global_step" is automatically used by wandb. In this case, ensure you log an initial value for the metric so it has been defined when it’s needed.
Log Images, Tables, Text, Audio and More
In addition to metrics, you can log plots, histograms, tables, text and media such as images, videos, audios, 3D and more.
Some considerations when logging data include:
- How often should the metric be logged? Should it be optional?
- What type of data could be helpful in visualizing?
- For images, you can log sample predictions, segmentation masks etc to see the evolution over time.
- For text, you can log tables of sample predictions for later exploration.
Refer to Log Data with wandb.log for a full guide on logging media, objects, plots and more.
Distributed Training
For frameworks supporting distributed environments, you can adapt any of the following workflows:
- Detect which is the “main” process and only use
wandbthere. Any required data coming from other processes must be routed to the main process first. (This workflow is encouraged). - Call
wandbin every process and auto-group them by giving them all the same uniquegroupname
See Log Distributed Training Experiments for more details
Logging Model Checkpoints And More
If your framework uses or produces models or datasets, you can log them for full traceability and have wandb automatically monitor your entire pipeline through W&B Artifacts.

When using Artifacts, it might be useful but not necessary to let your users define:
- The ability to log model checkpoints or datasets (in case you want to make it optional)
- The path/reference of the artifact being used as input if any. For example “user/project/artifact”
- The frequency for logging Artifacts
Log Model Checkpoints
You can log Model Checkpoints to W&B. It is useful to leverage the unique wandb Run ID to name output Model Checkpoints to differentiate them between Runs. You can also add useful metadata. In addition, you can also add aliases to each model as shown below:
metadata = {“eval/accuracy”: 0.8, “train/steps”: 800}

artifact = wandb.Artifact(
                name=f”model-{wandb.run.id}”,
                metadata=metadata,
                type=”model”
                )
artifact.add_dir(“output_model”) #local directory where the model weights are stored

aliases = [“best”, “epoch_10”]
wandb.log_artifact(artifact, aliases=aliases)
For information on how to create a custom alias, see Create a Custom Alias
You can log output Artifacts at any frequency (for example, every epoch, every 500 steps and so on) and are automatically versioned.
Log And Track Pre-trained Models Or Datasets
You can log artifacts that are used as inputs to your training such as pre-trained models or datasets. The following snippet demonstrates how to log an Artifact and add it as an input to the ongoing Run as shown in the graph above.
artifact_input_data = wandb.Artifact(name=”flowers”, type=”dataset”)
artifact_input_data.add_file(“flowers.npy”)
wandb.use_artifact(artifact_input_data)
Download A W&B Artifact
You re-use an Artifact (dataset, model…) and wandb will download a copy locally (and cache it):
artifact = wandb.run.use_artifact(“user/project/artifact:latest”)
local_path = artifact.download(“./tmp”)
Artifacts can be found in the Artifacts section of W&B and can be referenced with aliases generated automatically (“latest”, “v2”, “v3”) or manually when logging (“best_accuracy”…).
To download an Artifact without creating a wandb run (through wandb.init), for example in distributed environments or for simple inference, you can instead reference the artifact with the wandb API:
artifact = wandb.Api().artifact(“user/project/artifact:latest”)
local_path = artifact.download()
For more information, see Download and Use Artifacts.
Hyper-parameter Tuning
If your library would like to leverage W&B hyper-parameter tuning, W&B Sweeps can also be added to your library
Advanced Integrations
You can also see what an advanced W&B integrations look like in the following integrations. Note most integrations will not be as complex as these: