Create a custom registry
Create a custom registry for each step of your ML workflow.
Custom registries are particularly useful for organizing project-specific requirements that differ from the default, core registry.
The following procedure describes how to interactively create a registry:
- Navigate to the Registry App in the W&B App UI.
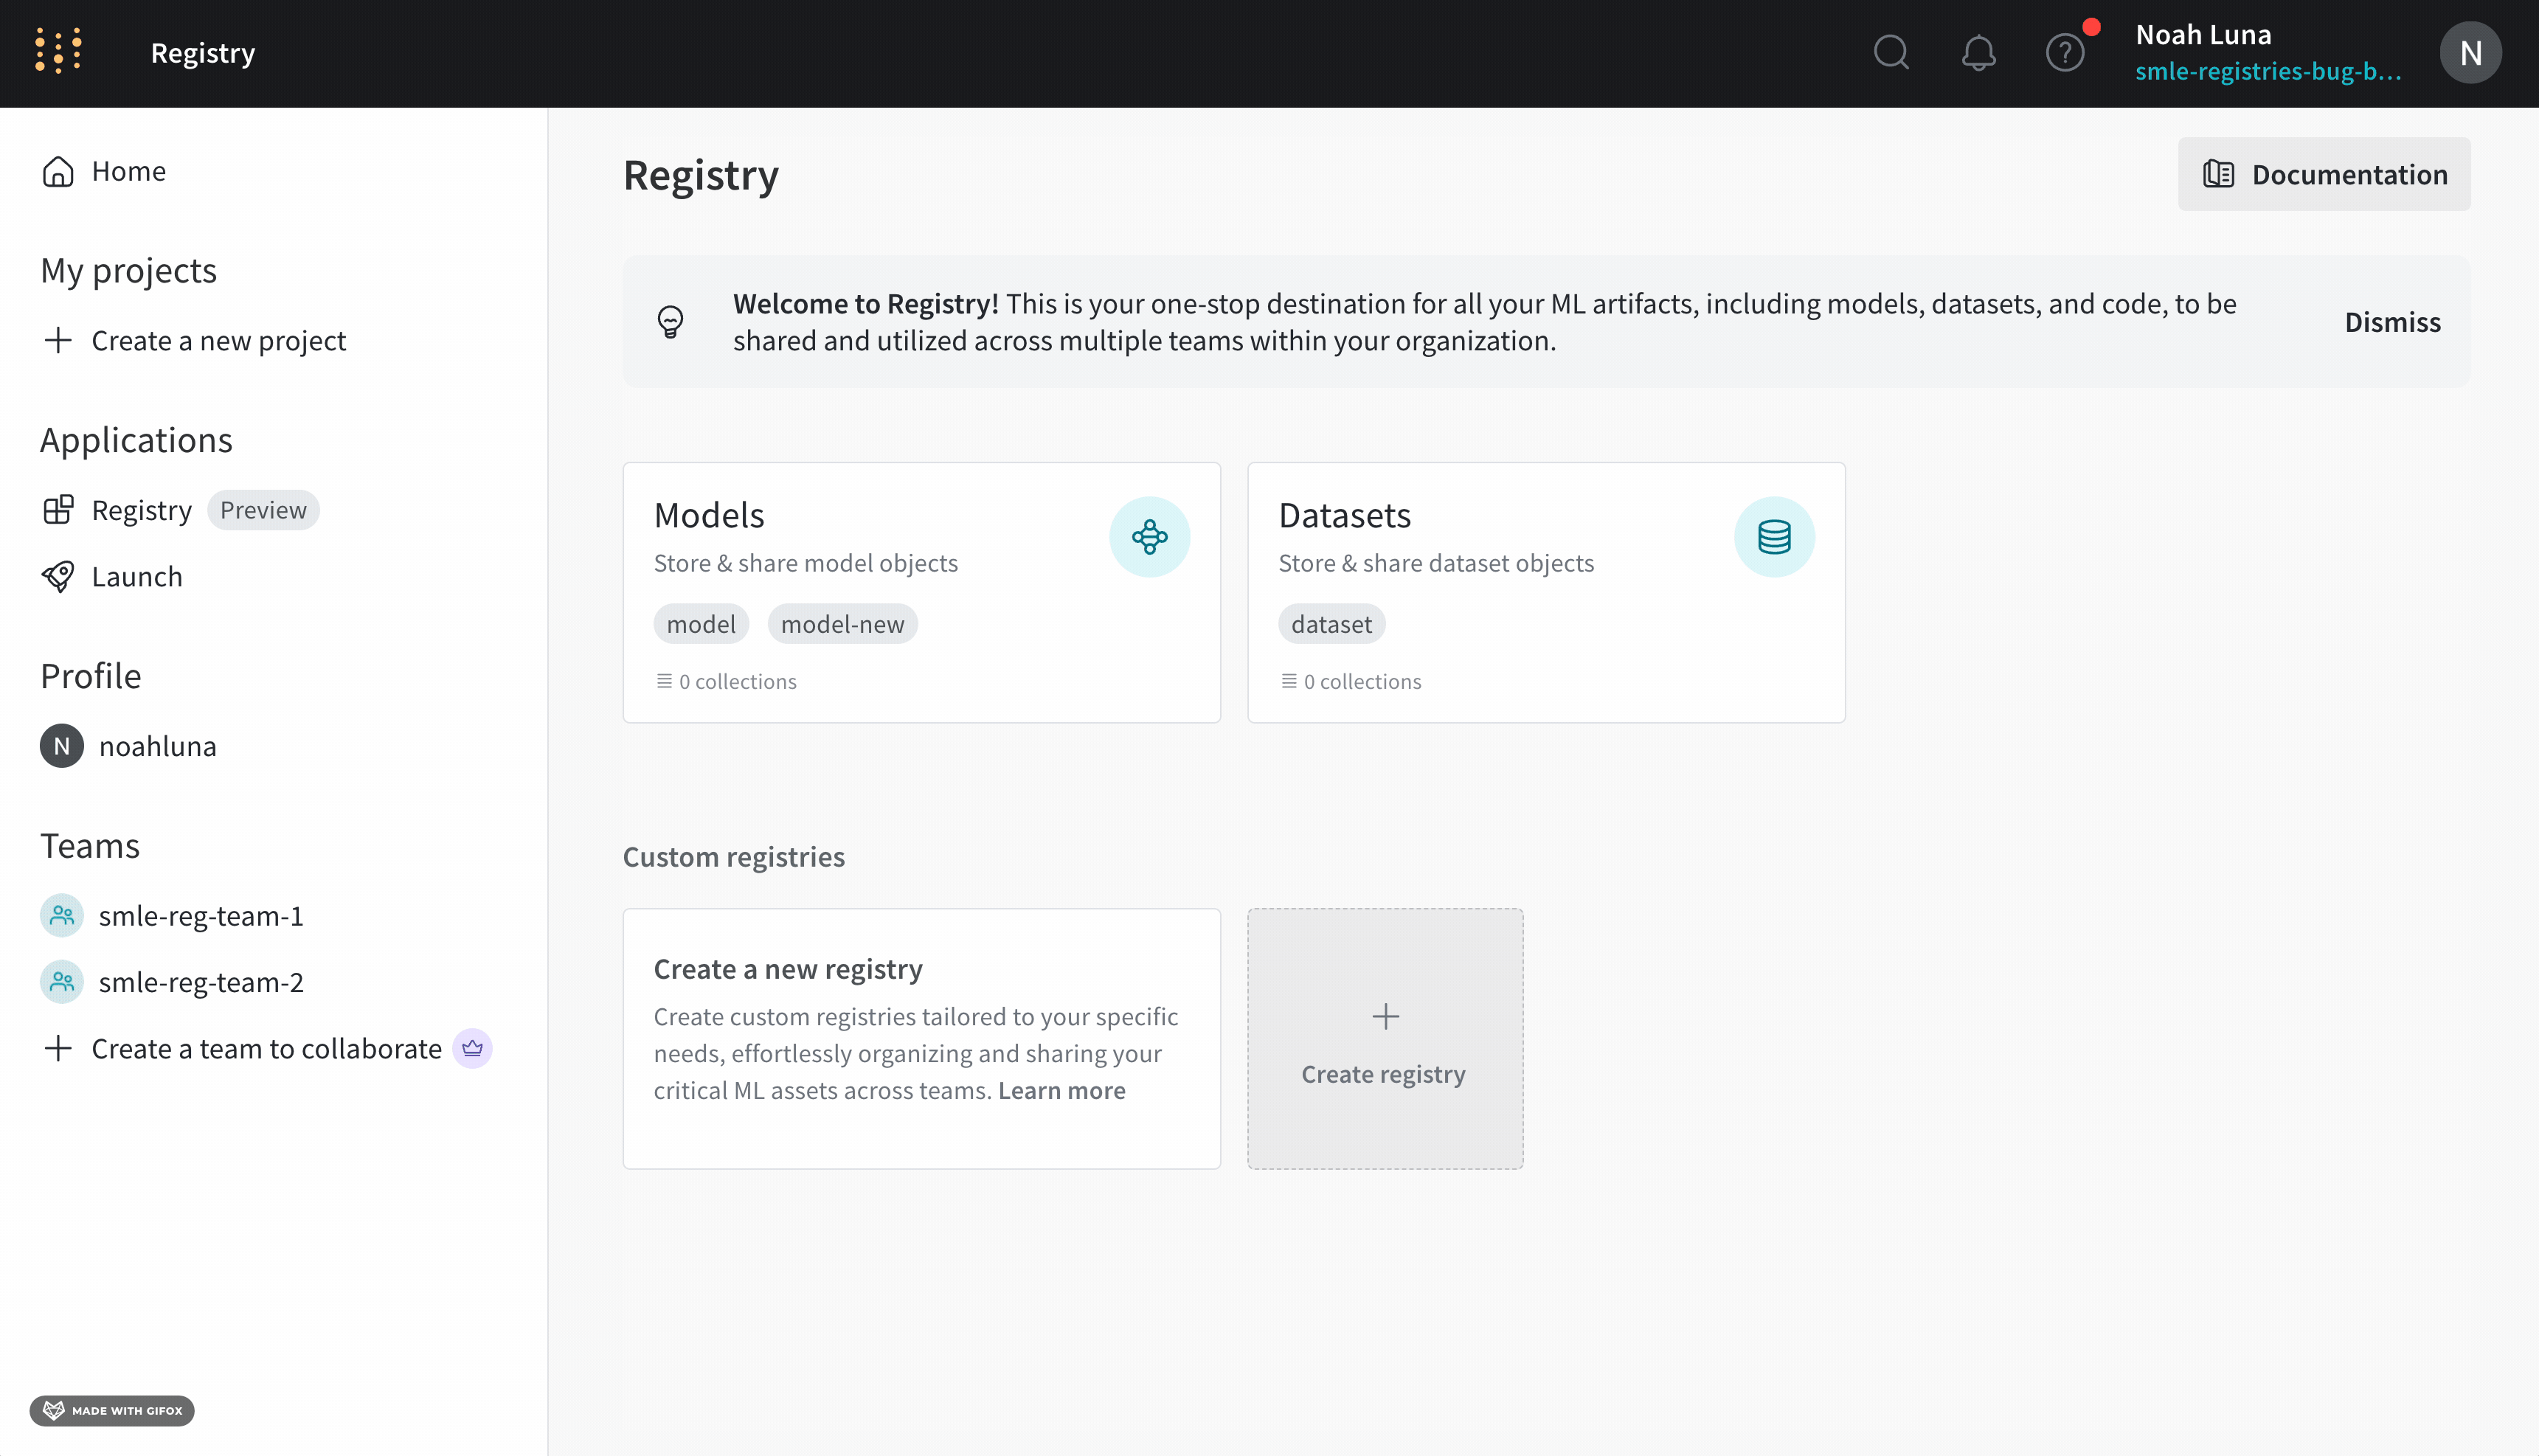
- Within Custom registry, click on the Create registry button.
- Provide a name for your registry in the Name field.
- Optionally provide a description about the registry.
- Select who can view the registry from the Registry visibility dropdown. See Registry visibility types for more information on registry visibility options.
- Select either All types or Specify types from the Accepted artifacts type dropdown.
- (If you select Specify types) Add one or more artifact types that your registry accepts.info
An artifact type can not be removed from a registry once it is added and saved in the registry's settings.
- Click on the Create registry button.
For example, the preceding image shows a custom registry called "Fine_Tuned_Models" that a user is about to create. The registry is set to Restricted which means that only members that are manually added to the "Fine_Tuned_Models" registry will have access to this registry.